
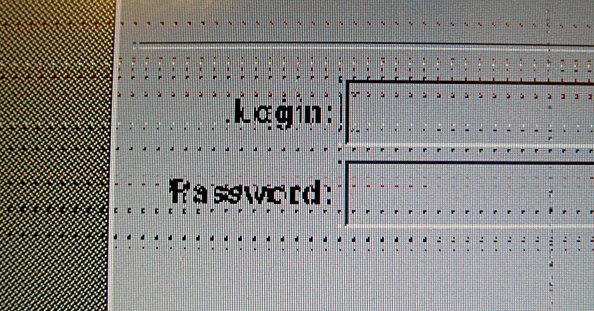
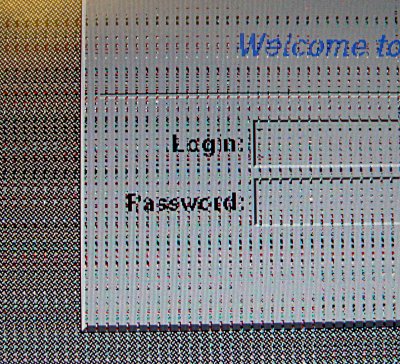
Views of the problem. This noise appears at random times on the screen, sometimes I can cause it by tapping around the case or typing. With the nv driver the event may crash X, and with the Nvidia driver it happens less often but can kill Linux.
I advise you not to do anything you see on this page, especially if you don't know how to handle these items.
Do as I say, not as I did. Put something soft under the top of the case before you go working on the bottom screws.
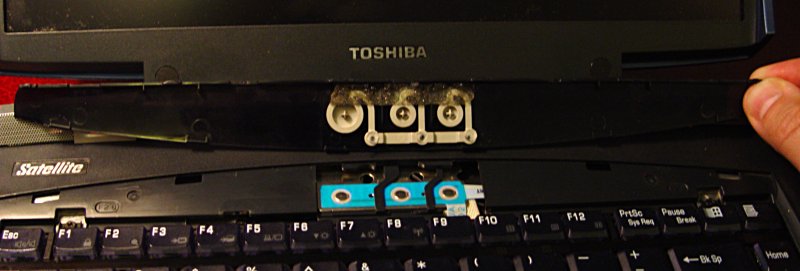
On the top side, this plate surrounding the power and other custom buttons comes off and reveals screws holding down the keyboard.
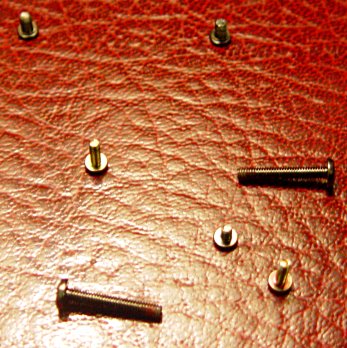
My advice is to place the screws in a pattern reflecting the way they come out. These are the keyboard screws and five from more underneath the keyboard holding the case.
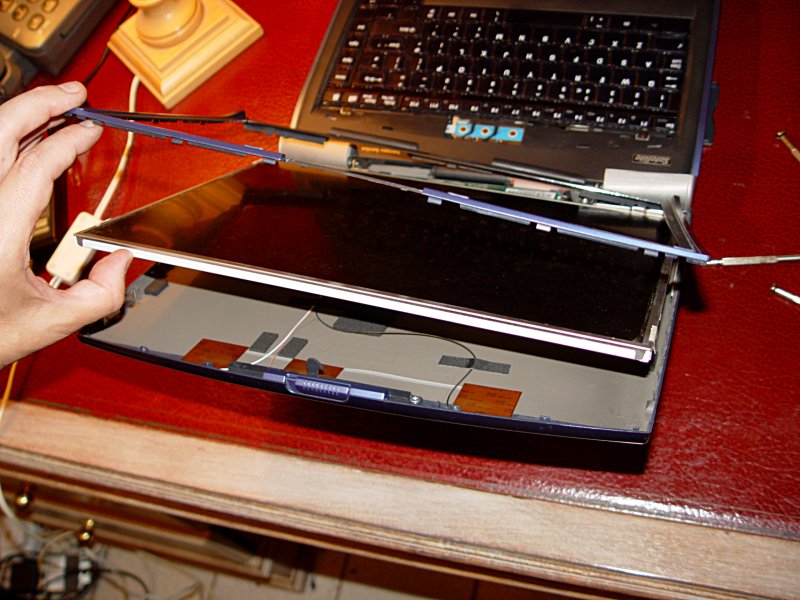
The bezel in front of the display is held down by two screws above the keyboard on each side of the Toshiba logo (behind black stickers). Only remove the three screws on each side of the display (underneath blue stickers) if you want to get the LCD panel to be free as shown here.
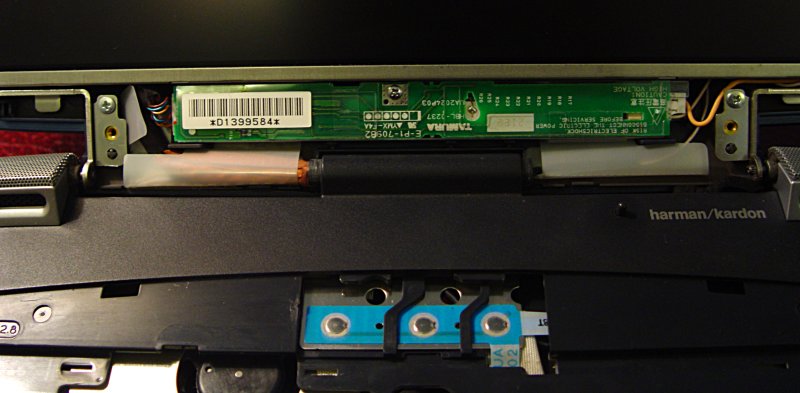
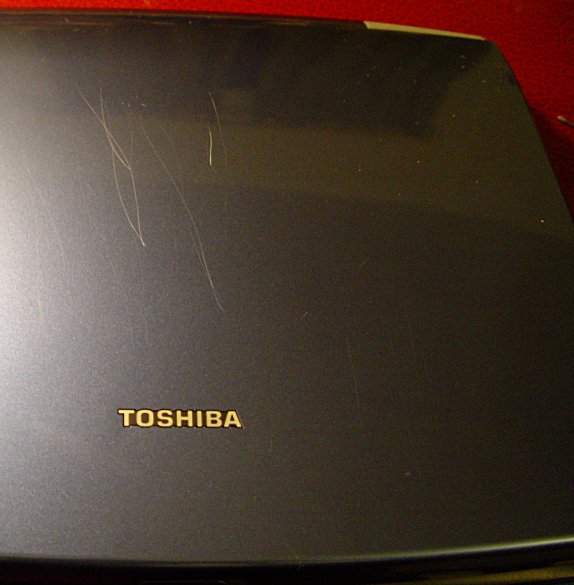
This is about all there is to see behind the screen bezel, though. There's no separate cover in front of the LCD, so all those marks are there to stay. I put a plastic sheet (a.k.a. "screen condom") over the screen (after this photo), but the bubbles still haven't worked out.
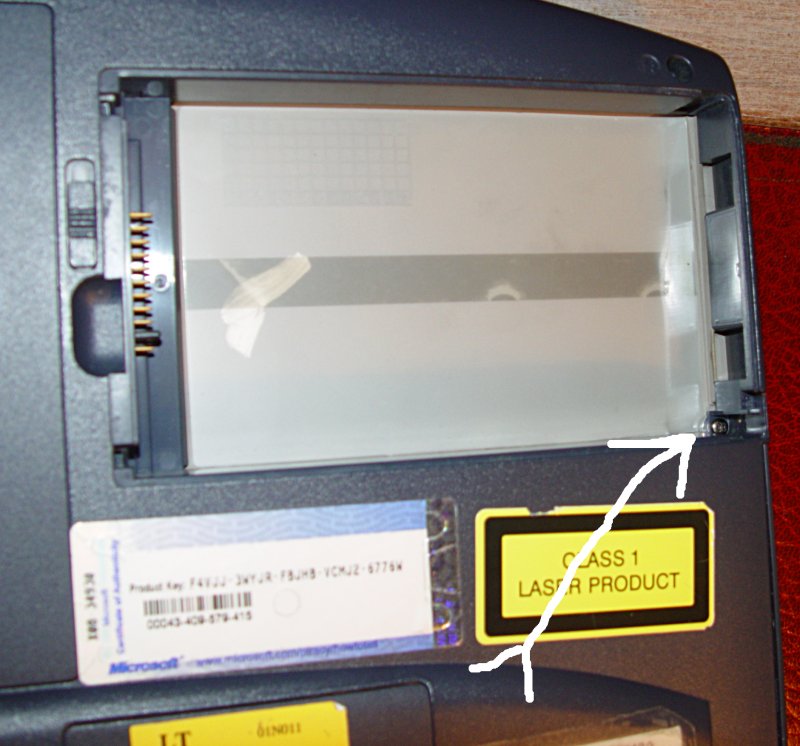
The hidden screws on the bottom case
There's one under the hard drive cover, but that's easy.
There's a small one under the battery - I think it's just there to make sure you don't forget and leave the battery in during disassembly.
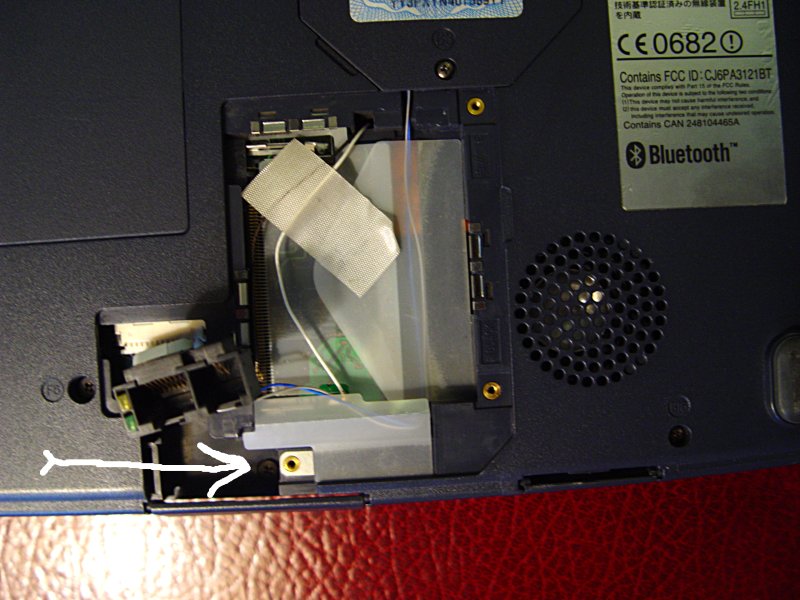
Here's the other one, under the RJ-45 and RJ-11 sockets. What goes in that big empty space, and where can I get one? Is it supposed to be the wireless card? I only have Bluetooth.
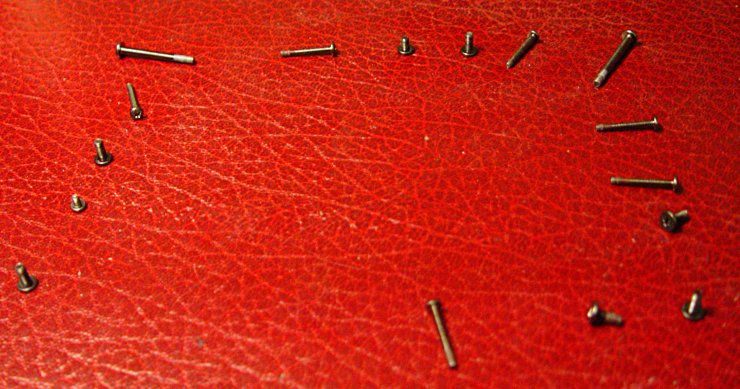
Again, you will want to arrange the screws carefully as they come out (unless you're not planning to re-assemble!)
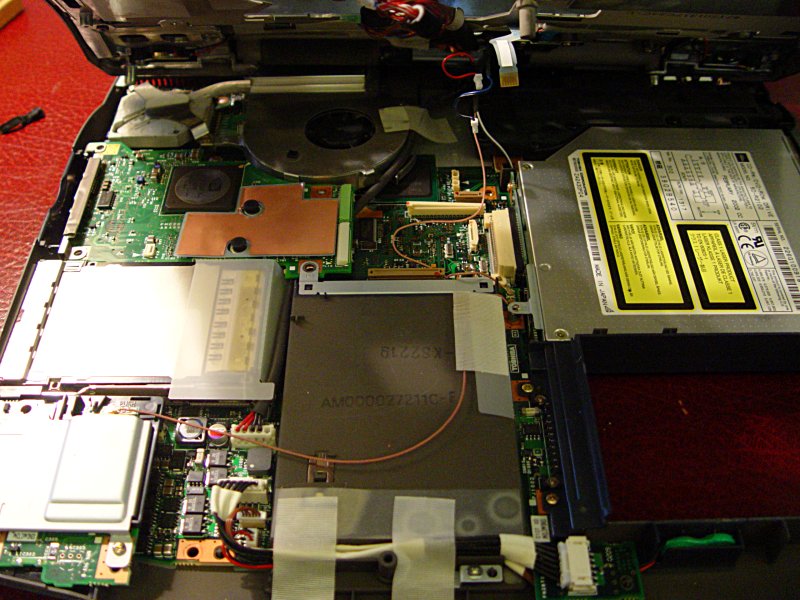
After that it's all pretty straightforward, if you're used to this kind of work. The video card is on the left (includes the external monitor plug).
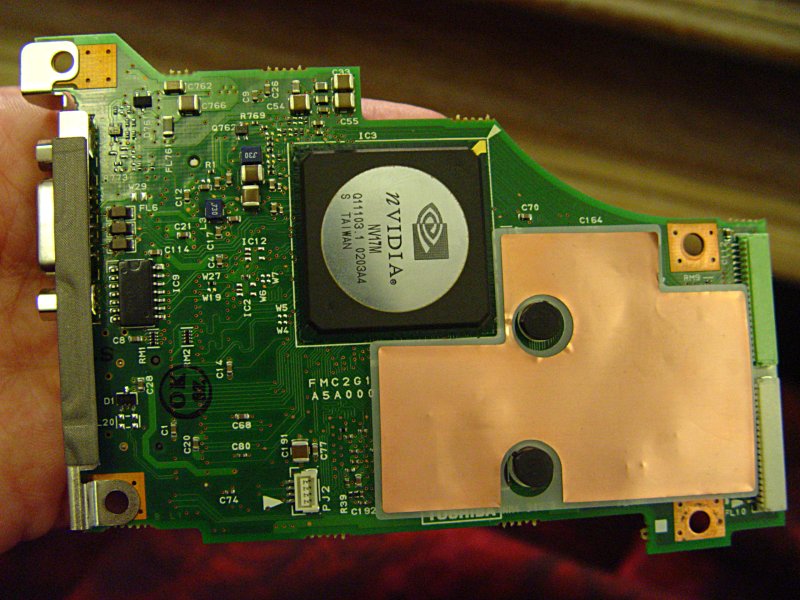
Here's the video card I'd like to replace, top view...

... bottom view.
In the end I managed some improvement by cleaning the contacts on the video card, re-seating it, and putting the screws back tighter than they had been before. Even better results came from switching back to the proprietary Nvidia X drivers, but that doesn't help on the frame buffer, console, boot disks, etc.